Configuration
All configuration is done in the app's configuration dashboard. The dashboard is accessible via the app's menu. The dashboard is split into three sections:
Depending on the user's role, the user might not be able to access all sections.
| Role | Instance | Query | License |
|---|---|---|---|
| elastic_admin | ✔️ | ✔️ | ✔️ |
| elastic_user | ✔️ | ❌ | ❌ |
| elastic_adhoc | ✔️ | ❌ | ❌ |
| elastic_query_list | ✔️ | ✔️ | ❌ |
| elastic_query_edit | ✔️ | ✔️ | ❌ |
| elastic_query_run | ✔️ | ❌ | ❌ |
Instance
The instance tab allows configuring the Elasticsearch instances that are available to the app. Currently, it is only possible to save instances within ElasticSPL's app context.
Creating an Instance
The free license of ElasticSPL allows configuring a single Elasticsearch node. The paid license allows to configure a higher number of instances and multiple Elasticsearch nodes per instance.
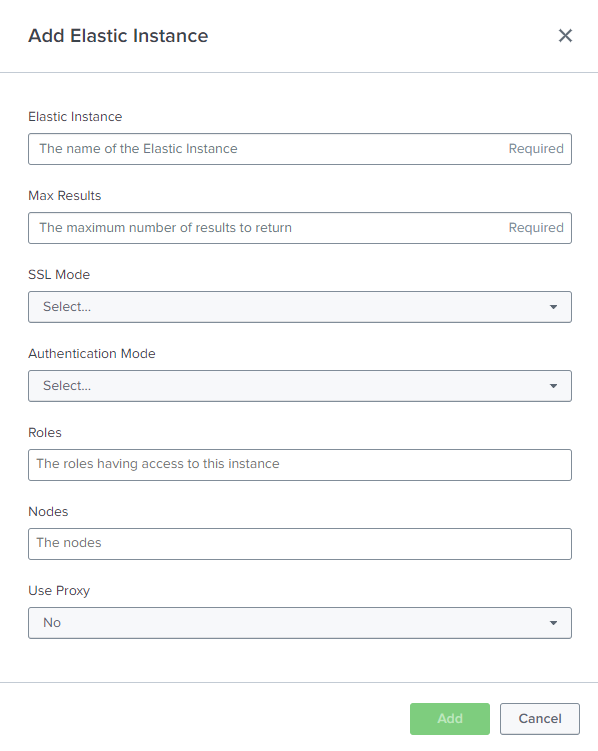
To create a new instance, open the Instance tab and click on the Add Elastic Instance button in the top right corner. Fill out the form and click on Add. Depending on the underlying Elasticsearch version, restrictions as mentioned in the Restrictions by Elasticsearch Version and Distribution section apply.
Add Elastic Instance Modal
Updating an Instance
The free license of ElasticSPL allows editing a single Elasticsearch node. Adding nodes to an instance is only possible with the paid license.
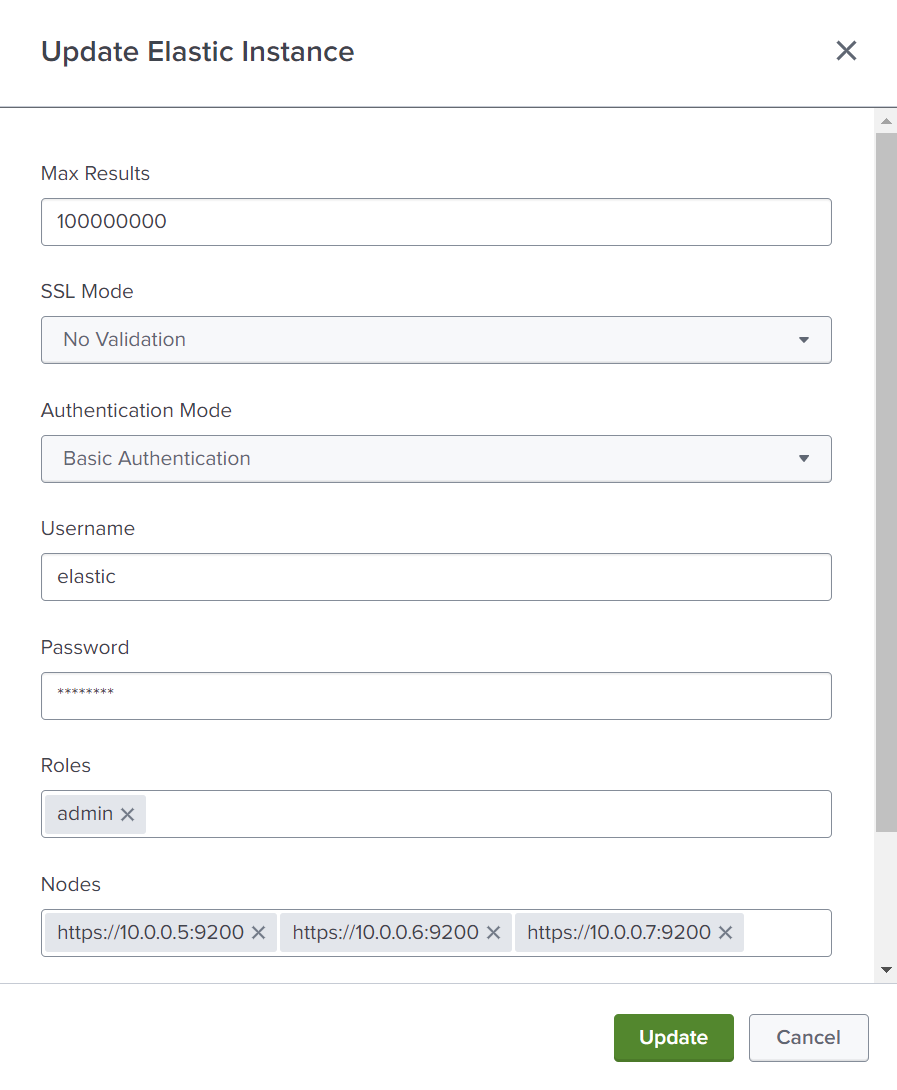
To update an instance, open the Instance tab and click on the Update button in the row of the instance that should be updated. Fill out the form and click on Update. Depending on the underlying Elasticsearch version, restrictions as mentioned in the Restrictions by Elasticsearch Version and Distribution section apply.
It is not possible to change the name of an instance. If the name of an instance should be changed, the instance has to be deleted and a new instance with the desired name has to be created.
Update Elastic Instance Modal
Deleting an Instance
To delete an instance, open the Instance tab and click on the Delete button in the row of the instance that should be deleted. Confirm the deletion by clicking on Delete.
Deleting an instance is irreversible. The instance will be deleted.
Pinging an Instance
To validate the connection to an instance, open the Instance tab and click on the Ping button in the row of the instance that should be pinged. The result of the ping will be displayed in the top right corner. In case of a successful ping, the result will be displayed in green. In case of an unsuccessful ping, the result will be displayed in red.
Consult the logs in the _internal index for more details in case of an unsuccessful ping.
Restrictions by Elasticsearch Version and Distribution
| Version | Basic Auth | API Key | CA Cert | Certificate Fingerprint |
|---|---|---|---|---|
| Elasticsearch 8 | ✔️ | ✔️ | ✔️ | ✔️ limited to a single node |
| Elasticsearch 7 | ✔️ | ✔️ | ✔️ | ✔️ limited to a single node |
| Elasticsearch 6 | ✔️ | ❌ | ✔️ | ✔️ limited to a single node |
| Opensearch | ✔️ | ❌ | ✔️ | ✔️ limited to a single node |
| Opendistro | ✔️ | ❌ | ✔️ | ✔️ limited to a single node |
Query
The query tab allows configuring queries that can be used in the Workbench and the corresponding search commands. Currently, it is only possible to save queries within ElasticSPL's app context.
Creating a Query
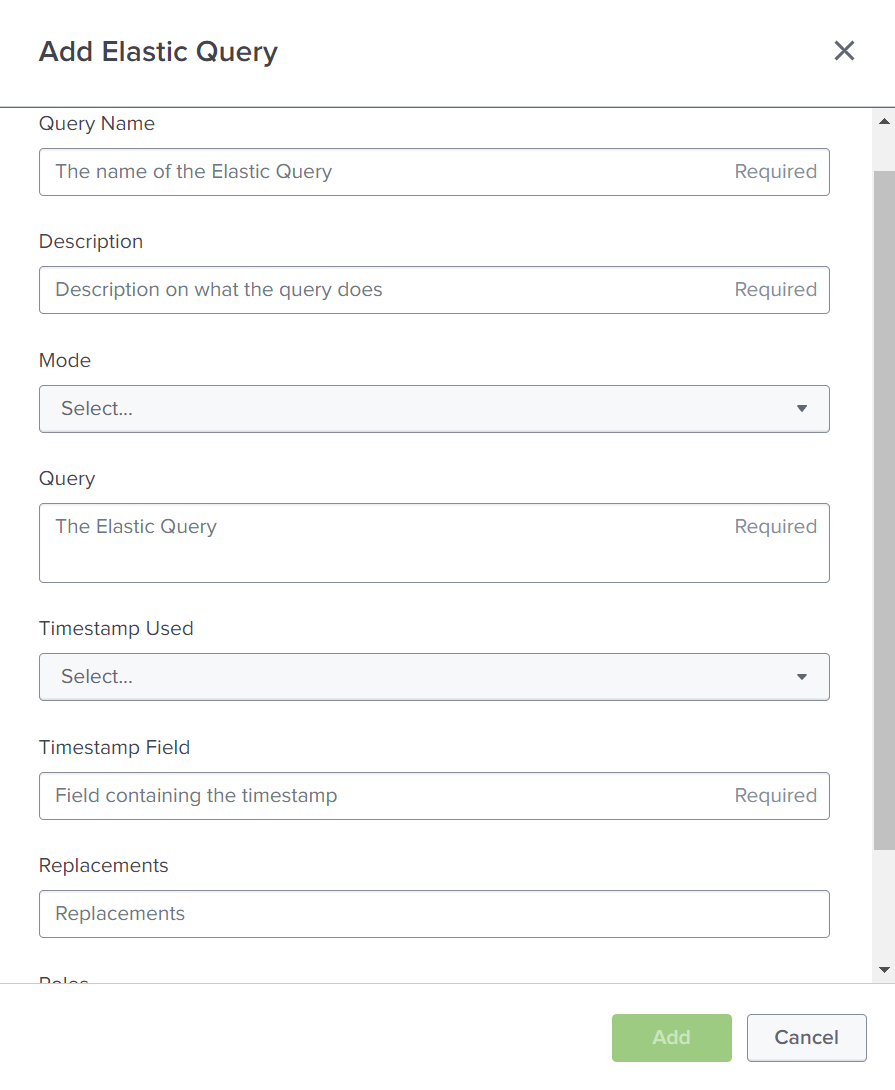
To create a new query, open the Query tab and click on the Add Query button in the top right corner. Fill out the form and click on Add. The query can be used in the Workbench and the corresponding search commands.
Add Query Modal
Updating a Query
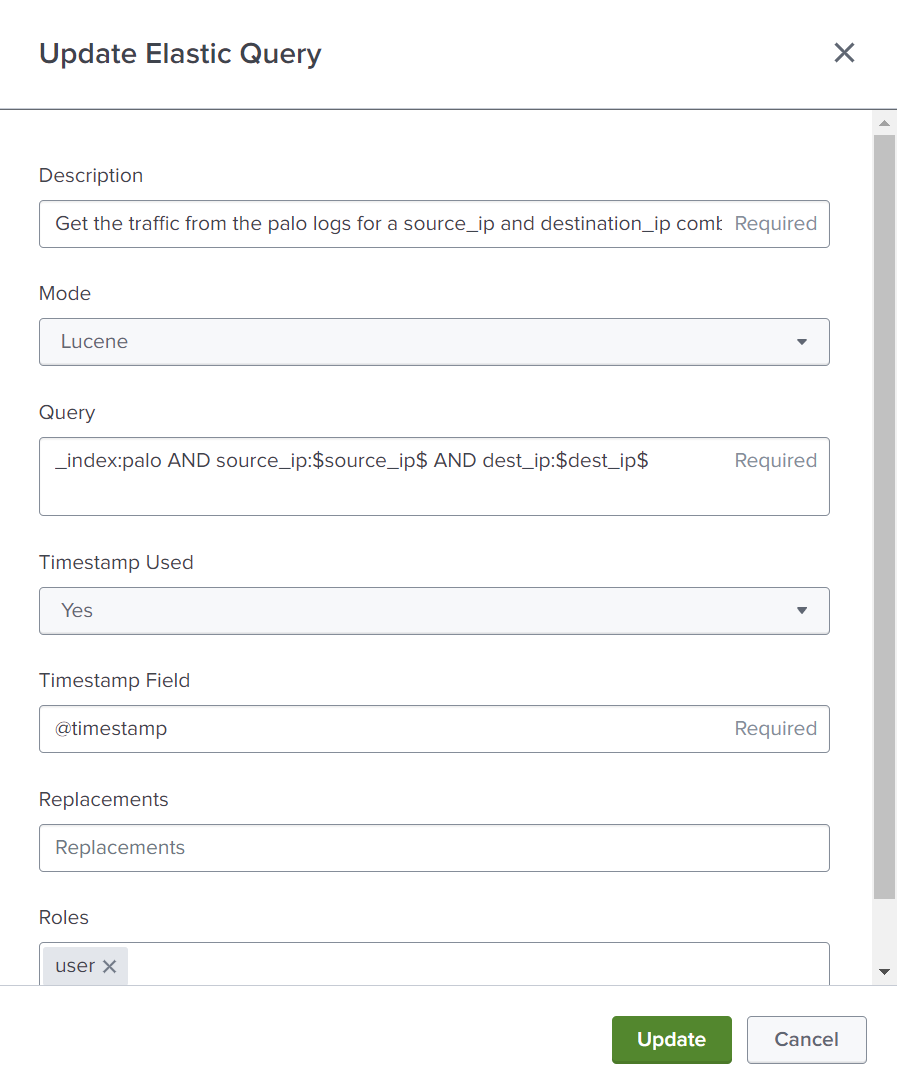
To update a query, open the Query tab and click on the Update button in the row of the query that should be updated. Fill out the form and click on Update. The query can be used in the Workbench and the corresponding search commands.
It is not possible to change the name of a query. If the name of a query should be changed, the query has to be deleted and a new query with the desired name has to be created.
Update Query Modal
Deleting a Query
To delete a query, open the Query tab and click on the Delete button in the row of the query that should be deleted. Confirm the deletion by clicking on Delete.
Deleting a query is irreversible. The query will be deleted.
Running a Query
The configuration page does not allow for directly running a query. Please use the Workbench as described in the Workbench section.
License
License information can be found in the Licensing section.
Uploading a License
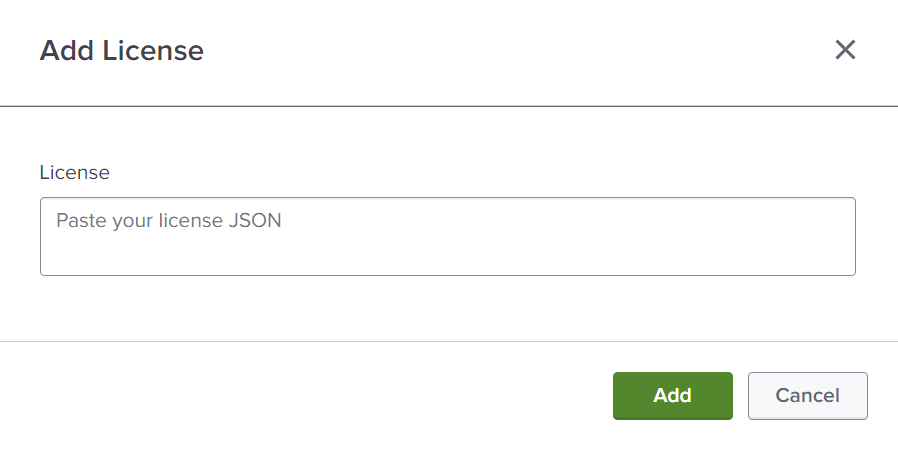
To upload a license, open the License tab and click on the Add License button in the top right corner. Paste the license JSON into the text area and click on Add. The license will be validated and applied.
Make sure to validate if the license is valid and if it is compatible with the installed version of ElasticSPL. The license will be applied immediately. The status of each license can be found in the License tab.
Add License Modal
Deleting a License
To delete a license, open the License tab and click on the Delete button in the row of the license that should be deleted. Please note that the license will be deleted immediately.
Deleting a license is irreversible. The license will be deleted.