Configuration
All configuration is done in the app's configuration dashboard. The dashboard is accessible via the app's menu. The dashboard is split into three sections:
Depending on the user's role, the user might not be able to access all sections.
| Role | Cribl Instances | Cribl Replay Collectors | Licenses | Proxy | Logging |
|---|---|---|---|---|---|
| utstream_admin | ✔️ | ✔️ | ✔️ | ✔️ | ✔️ |
| utstream_writer | ✔️ | ✔️ | ❌ | ❌ | ❌ |
| utstream_writer | ✔️ | ✔️ | ❌ | ❌ | ❌ |
Cribl Instances
The Cribl Instance tab allows configuring the Cribl Stream instances that are available to the app. Currently, it is only possible to save instances within UTStream's app context.
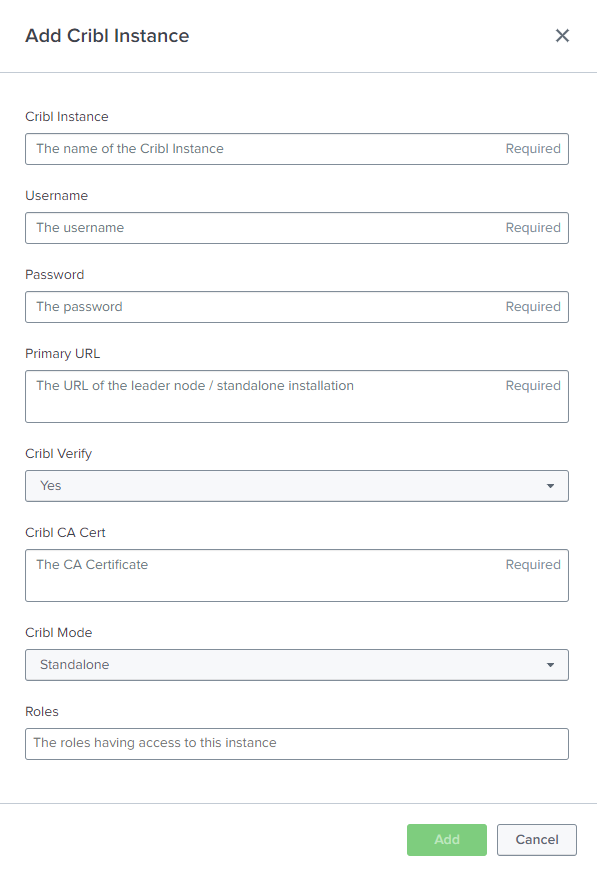
Creating an Instance
To create a new instance, open the Cribl Instances tab and click on the Add Cribl Instance button in the top right corner. Start filling out the form and if applicable, change Cribl Mode to Distributed. If the instance is distributed, available worker groups will be fetched based on your provided inputs.
Add Cribl Instance Modal
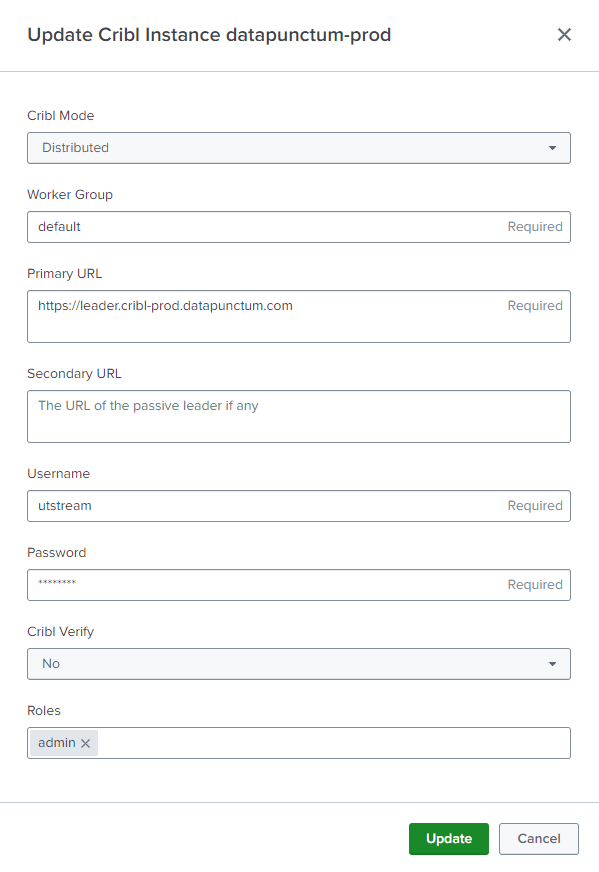
Updating an Instance
To update an instance, open the Cribl Instances tab and click on the Edit button in the row of the instance that should be updated. Fill out the form and click on Update.
It is not possible to change the name of an instance. If the name of an instance should be changed, the instance has to be deleted and a new instance with the desired name has to be created.
Update Elastic Instance Modal
Deleting an Instance
To delete an instance, open the Cribl Instances tab and click on the Delete button in the row of the instance that should be deleted. Confirm the deletion by clicking on Delete.
Deleting an instance is irreversible. The instance will be deleted.
Cribl Replay Collectors
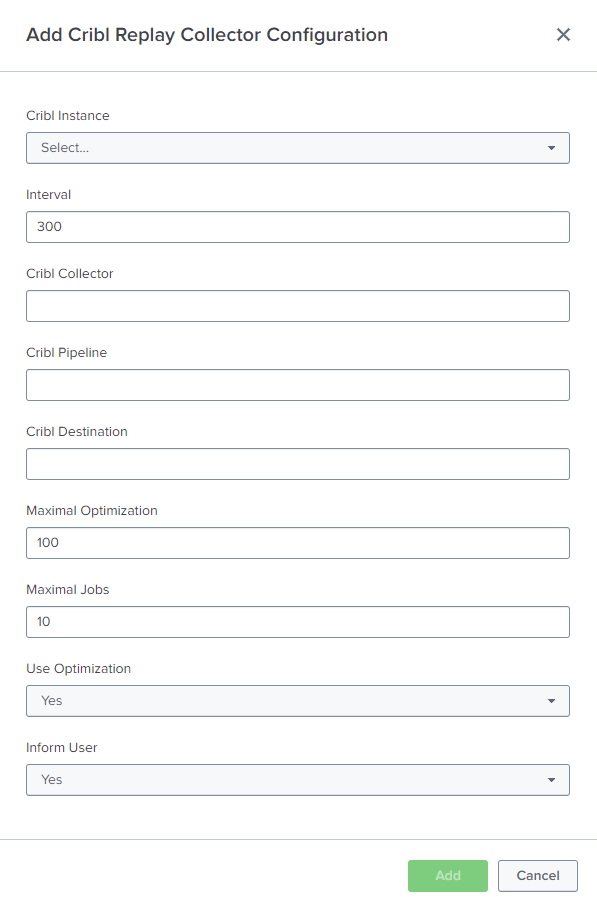
Creating a Replay Collector
The free license of UTStream allows configuring a single Replay Collector. The paid license allows up to an unlimited number of Replay Collectors.
To create a new replay collector, open the Cribl Replay Collectors tab and click on the Add Cribl Replay Collector button in the top right corner. After selecting an instance, the form will populate with the available collectors, pipelines and destinations. The form will show free text fields for the collector, pipeline and destination in case the given instance could not be queried. Select the desired collector, pipeline and destination and click on Add.
Add Cribl Replay Collector Modal
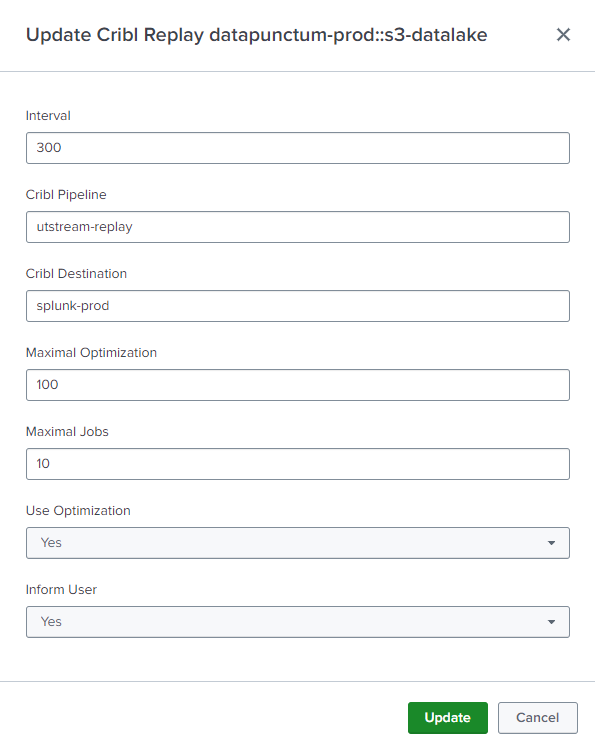
Updating a Replay Collector
To update a replay collector, open the Cribl Replay Collectors tab and click on the Edit button in the row of the instance that should be updated. Fill out the form and click on Update.
It is not possible to change the selected instance or replay collector. If the instance or replay collector should be changed, the collector has to be deleted and a new collector with the desired instance and replay collector has to be created.
Update Cribl Replay Collector Modal
Deleting a Replay Collector
To delete an replay collector, open the Cribl Replay Collecots tab and click on the Delete button in the row of the collector that should be deleted. Confirm the deletion by clicking on Delete.
Deleting an instance is irreversible. The collector will be deleted.
Licenses
License information can be found in the Licensing section.
Uploading a License
To upload a license, open the License tab and click on the Add License button in the top right corner. Paste the license JSON into the text area and click on Add. The license will be validated and applied.
Make sure to validate if the license is valid and if it is compatible with the installed version of UTStream. The license will be applied immediately. The status of each license can be found in the License tab.
Deleting a License
To delete a license, open the License tab and click on the Delete button in the row of the license that should be deleted. Please note that the license will be deleted immediately.
Deleting a license is irreversible. The license will be deleted.
Proxy
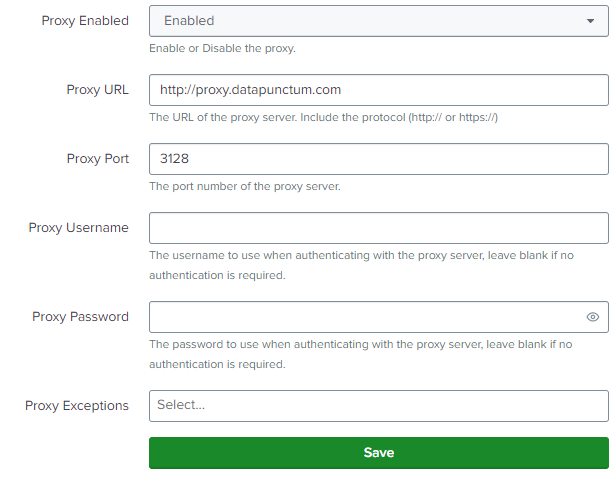
Communication to the configured Cribl instances initiates HTTP Requests. Use the proxy settings to configure if these requests should pass a proxy server.
To set a proxy for all requests, open the Proxy tab and fill out the form. Click on Save to save the proxy settings.
Proxy Configuration
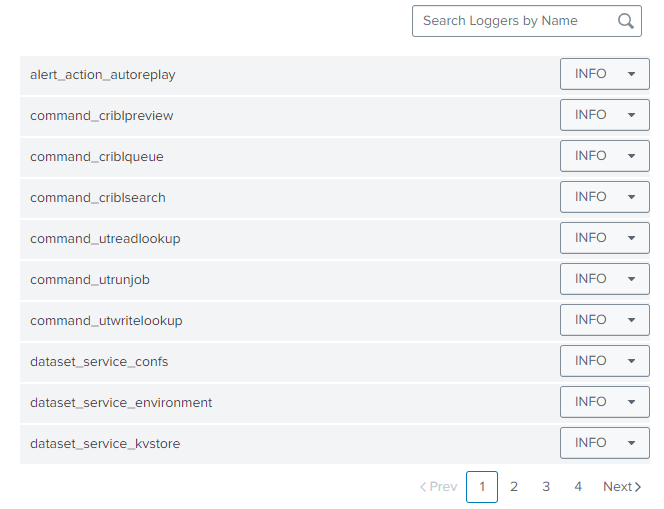
Logging
It is possible to configure the logging level of UTStream. To change the logging level, open the Logging tab and change the level for the desired loggers. The configuration will be applied immediately. The logging level only applies to UTStream and not other apps developed by Datapunctum.
Logging Configuration